Address: 626 Zhongxinbao, 101 Industrial Road, Pinghu Town, Shenzhen, China
Contact: Lily
Mobile phone: 13530581917
E-mail:lily@mps-insulationpins.com
How To Set Up C.D. Weld Pins
To get work done quickly and reliably is really important on today’s jobs. At Midwest Fasteners, we know that easy to use portable stud welding can be helpful to install all types of fasteners in a fast and practical way. And we know help.
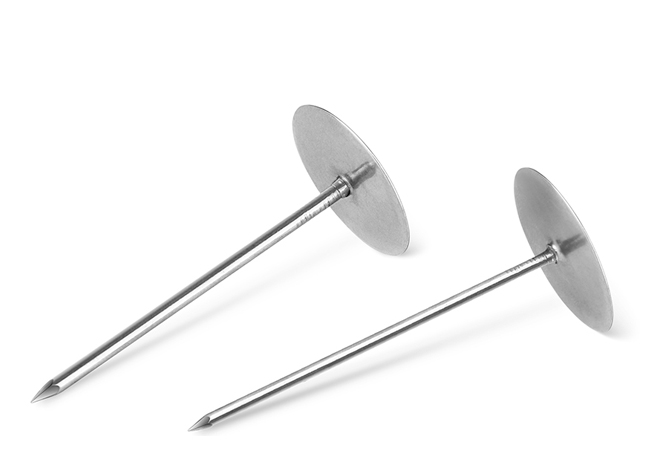
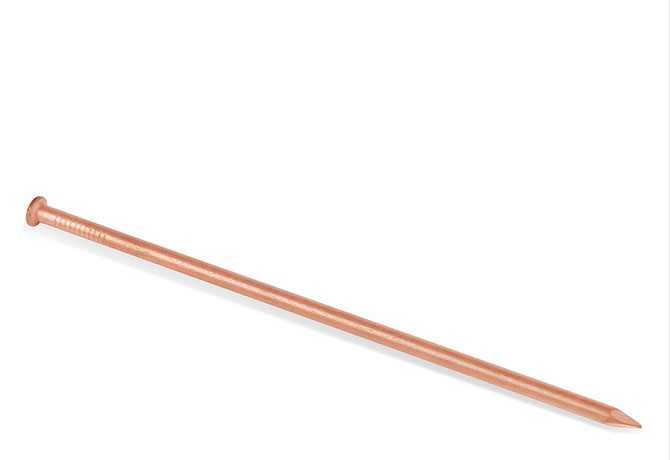
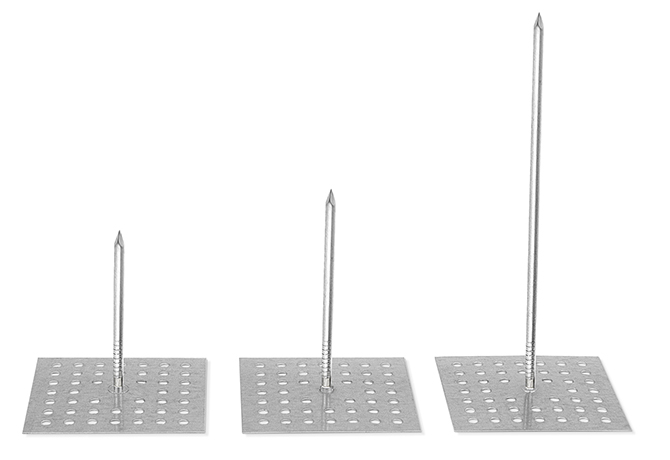
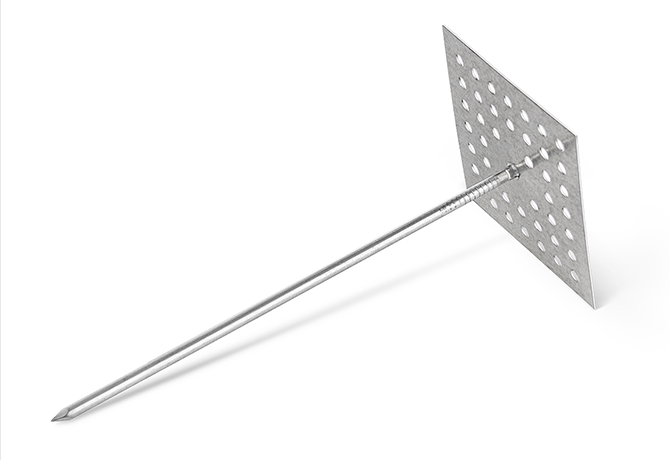
Weld Pins, sometimes called “Weld Nails”, can be welded using Capacitor Discharge stud welding, a process that is often called “CD” welding for short.
This is a portable welding process which uses readily-available electric power from an everyday, one-hundred-and-ten-volt power outlet.
In addition to being portable, CD Welding Systems have:
simple components
work quickly
and can be used on sheet metal thickness material to apply a variety of Welded Fasteners using capacitor discharge welding
Using the CD process for Pin welding offers a strong weld quickly and reliably to impale insulating materials. It can be used with Stainless & Mild Steel, even coated and Galvanized materials, plus Aluminum; with no burn-through of the metal, and no special welding setup.
The process of Capacitor Discharge welding occurs in a series of 4 fast steps:
Contact
Ignition
Placement of the Pin and
“Completion” of the Weld
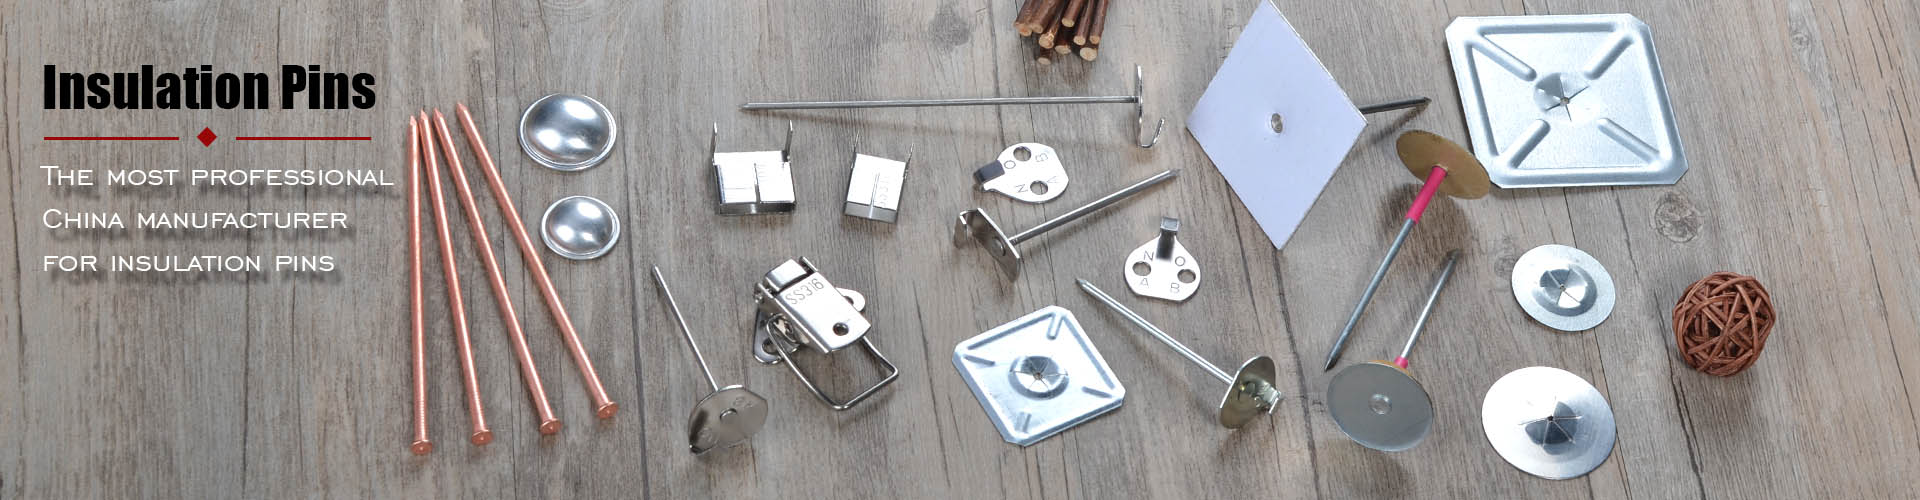
The standard, portable CD system consists of:
The Controller [ or Power Unit] which is plugged into the one-hundred-and-ten-volt outlet.
The CD Gun with Cables is used to command the power unit and deliver weld current, with the Gun also serving as the Pin holder to properly place the pin during welding.
Then, on the other side of “the circuit” a ground cable and clamping connection is attached to the work-surface to complete our Capacitor Discharge connections.
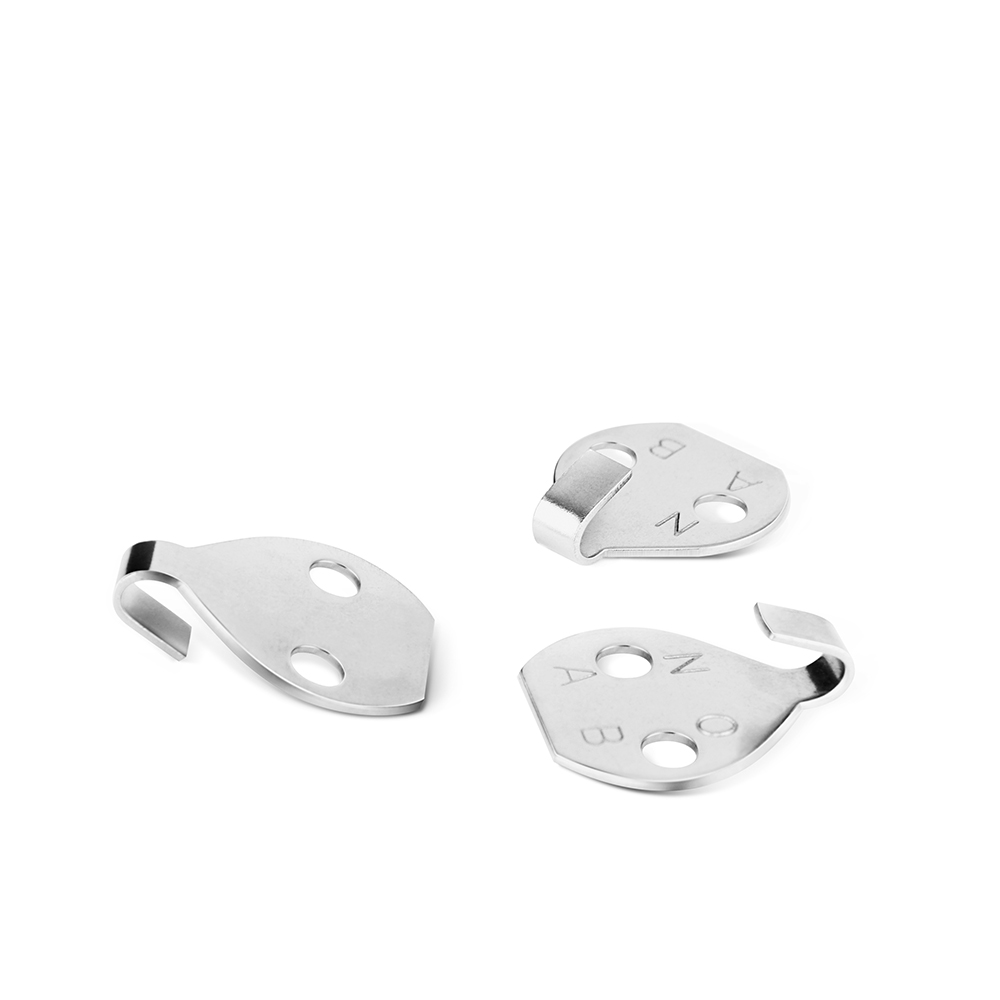
And finally, special Accessories are used to hold the Pin in the Gun.
These parts make up the CD weld system.
It is critical to set the gun up properly to allow these steps and components to go into action, and to allow pins to weld reliably. There are several ways to set up for Pin-welding with the MIDWEST CD portable pin welder.
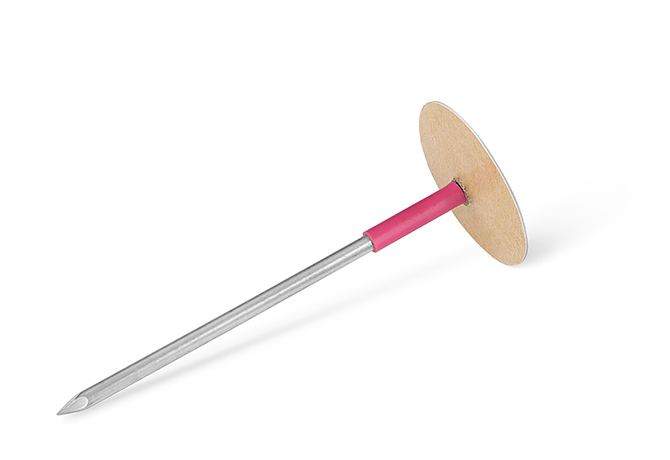
First, the simple part called the “Bullet” Collet .
This type Collet requires no additional parts and can be used on Pins up to 4” long.
To install this accessory, prepare the C.D. Gun, by loosening the screws at the end of the gun shaft to accept the Collet. At the same time, loosen the set screw on each gun leg.
Before installing the Collet, make sure the Collet is the proper size for the pin and diameter to be welded.
Insert the Bullet-collet into the Gun until it “seats” and stops fully.
Next, tighten the set screws (in this case 2 of them) and check to see that the Gun is free and clear to operate smoothly during the weld.
With the Collet installed, insert a Weld pin fully into the Collet until it stops. Slide the Leg and Foot Assembly until you have only an eighth-of-an-inch of pin sticking out past the foot. This is called “proper protrusion” and is critical to allow the Welder, Pin and Capacitor Discharge Welding Process to perform properly.
Once the eighth-inch is set, tighten both set screws to keep the foot steady.
If your job requires different length pins to be used, make this adjustment to each pin length to be welded, always ending with the critical eighth-inch of protrusion.
That completes set up of The Bullet Collet and you are ready to weld. Just:
Load
Contact
and Apply
Use of the standard “B” Collet and “B” Stop are similar and can be used for lots of applications as another accessory option. Installation of these accessories occurs as before, as does the final C.D. Gun set up.
Prepare the C.D. Gun the same way, by loosening the screws at the end of the gun shaft, and also on the underside of the gun faceplate.
Remember again, to make sure your accessories are the proper size for the pin and diameter to be welded.
This time, first insert a proper length “Stop” Into the Collet. Then put this assembly into the Gun until it “seats” and stops fully.
Next, tighten the set screws and check to see that the Gun is free and clear to operate.
Now, with the Collet & Stop installed, insert a pin into the Collet, again fully, until it stops. Slide the Legs and Foot until you have the eighth-of-an-inch of pin sticking out assuring proper protrusion and weld timing. Once the eighth-inch is set, tighten both set screws to keep the foot firm during welding.
Again, if your job requires different length pins to be used make this adjustment to each pin length to be welded—always ending with the proper eighth-inch of protrusion.
Welding is simple:
load
contact
and Weld
E-mail:daniel@mps-insulationpins.com
Related Industry Knowledge
Related Products